Learn Claude in 7 Days: A One-Task-a-Day Plan for Designers
A seven day plan to learn Claude as a designer. One small task a day, from project instructions to your own skill, with the exact prompt for every day and a free Figma file.
Most designers try Claude once, get a so-so answer, and go back to their old way of working. The fix is not a bigger course. It is one small task a day for a week, each one chosen so Claude learns your rules or takes over a slow job. This plan has seven of them, with the prompt for every day.
The week at a glance
| Day | Task | What you give Claude | What you get back |
|---|---|---|---|
| 1 | Set up a Project | Your design rules, once | Every answer follows them |
| 2 | Critique a screen | A screenshot of your work | The 3 biggest problems, worst first |
| 3 | Rewrite your copy | Your real error messages | Messages that say what to do next |
| 4 | Build a prototype | A wireframe | A clickable artifact with states |
| 5 | Install a skill | Two commands | Ready-made skills in Claude Code |
| 6 | Connect Figma | A frame | A list of values not in your styles |
| 7 | Write your own skill | How you review a screen | A skill you run on every design |
Each day takes about as long as a coffee. Do them in order, because every day uses what the one before it set up.
Day 1: Set up a Project
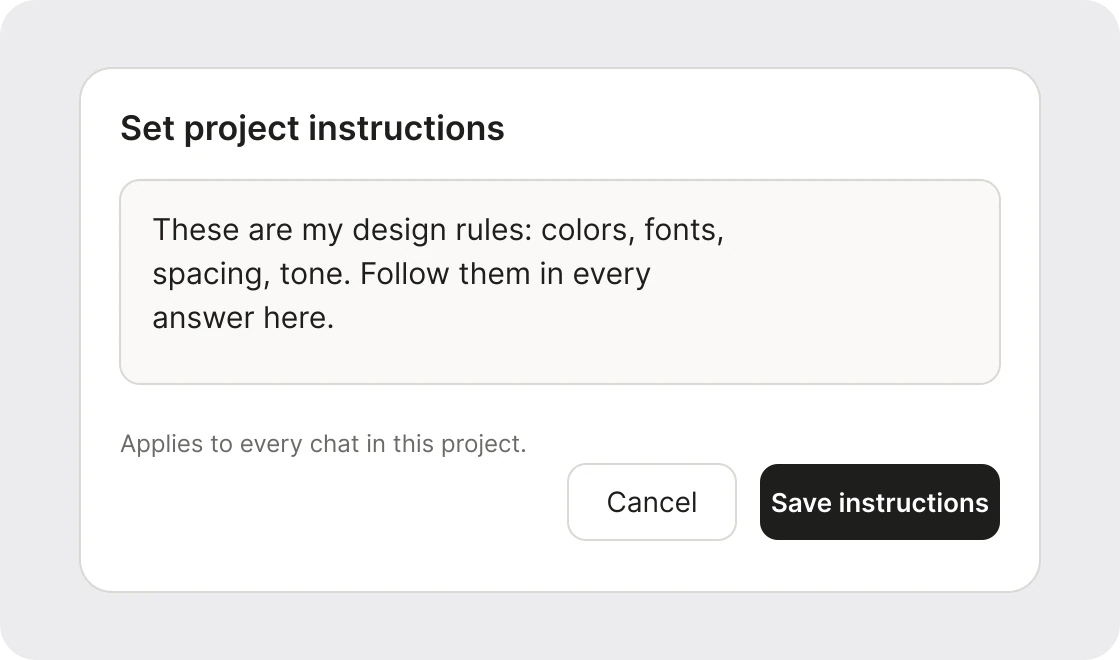
A Project in Claude has instructions that apply to every chat inside it. That is the one place to say who you design for and how you like things done. Paste this first, then replace the generic words with your real values.
These are my design rules: colors, fonts, spacing, tone.
Follow them in every answer here.
Fill it out with the things you keep repeating: your primary color and its hex, your type pair, your spacing scale, the words your brand never uses. The more concrete the rule, the less you retype. If you want the longer version of this idea, Prompt Engineering for Designers covers what a good brief contains.
Day 2: Critique a screen
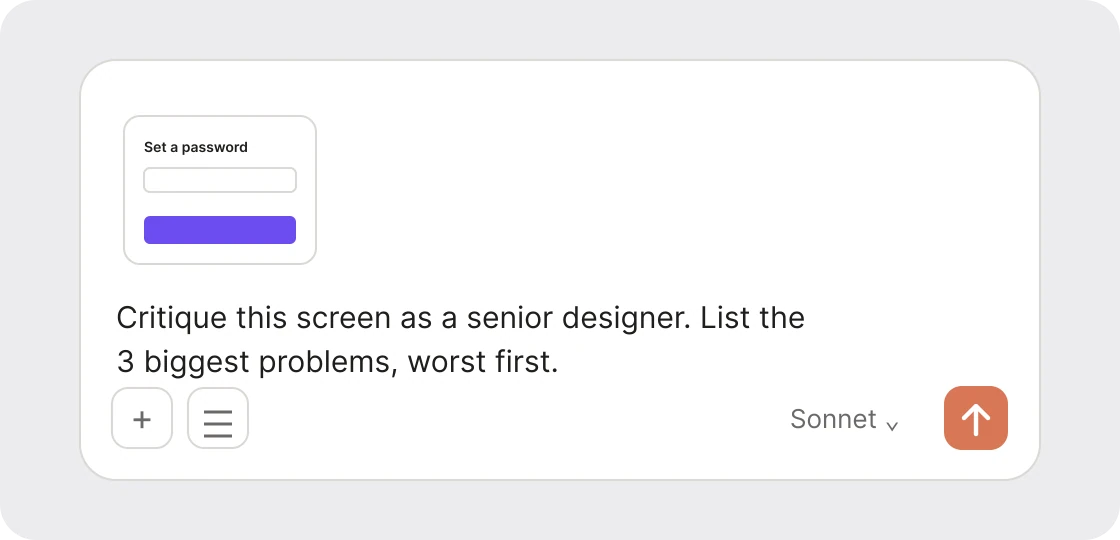
Attach a screenshot of something you are working on and send this.
Critique this screen as a senior designer.
List the 3 biggest problems, worst first.
Two limits do the work here. "Three" stops it from listing twelve small things, and "worst first" gives you an order to fix them in. Treat the answer as a second pair of eyes, not a verdict. You still decide which of the three you agree with.
Day 3: Rewrite your copy
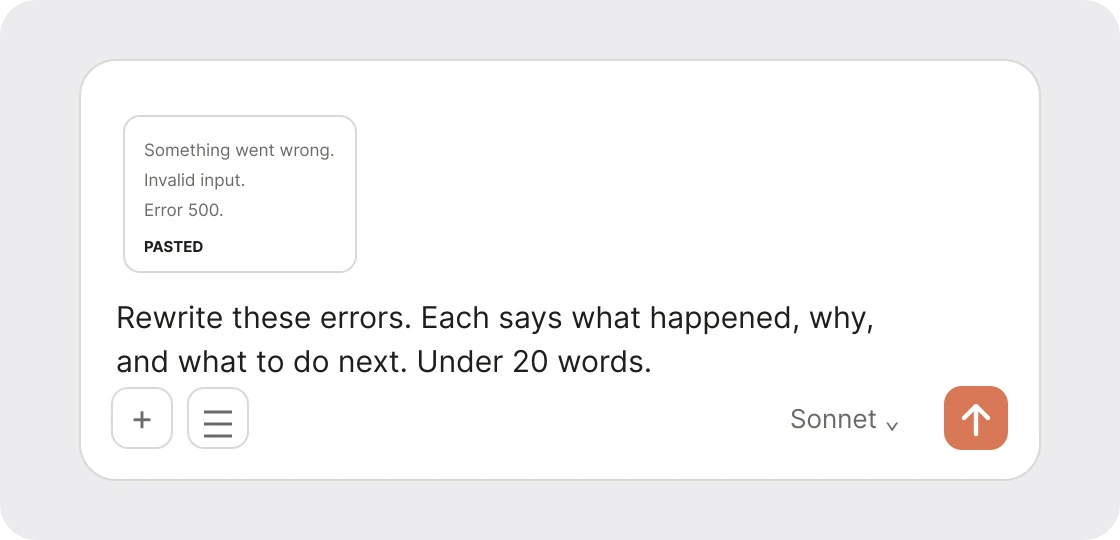
Paste the error messages from your own product, then send this.
Rewrite these errors. Each says what happened, why,
and what to do next. Under 20 words.
The three-part shape is the useful part: what happened, why, what to do next. "Something went wrong" has none of the three. Check every rewrite against your product, because Claude can only guess at causes you did not tell it.
Day 4: Build a prototype
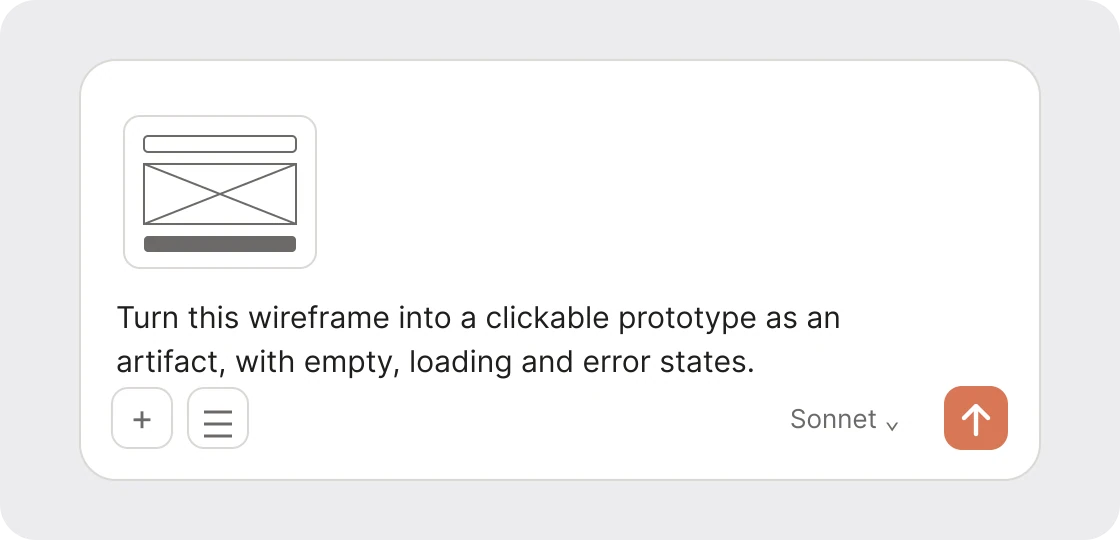
Attach a wireframe, even a rough one, and send this.
Turn this wireframe into a clickable prototype as an
artifact, with empty, loading and error states.
Asking for the empty, loading and error states in the same message is what makes this useful. Most prototypes only show the happy path. You get something you can click and show a teammate the same afternoon, and you see the gaps in the wireframe before anyone builds it.
Day 5: Install a skill
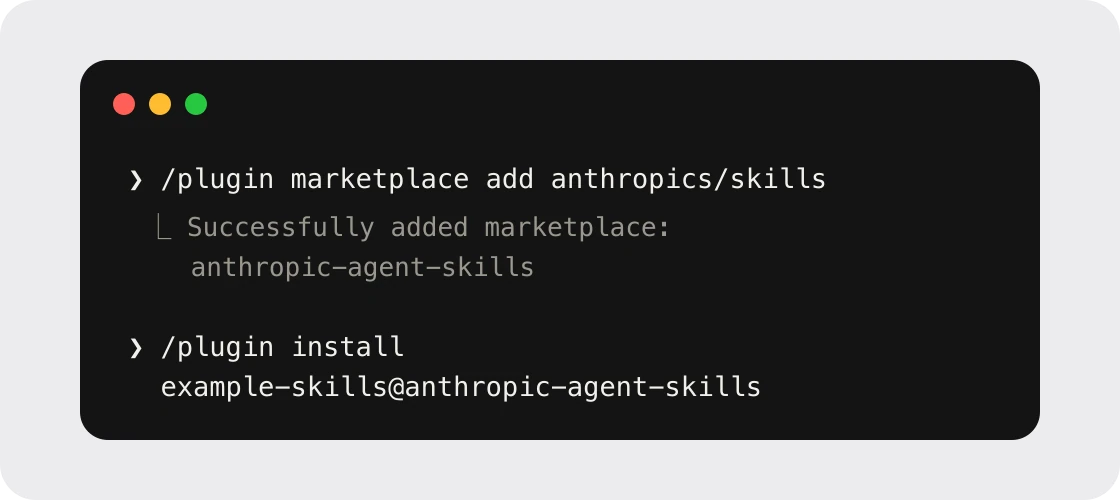
A skill is a saved set of instructions Claude loads when a task matches. Open Claude Code and run both lines, one at a time.
/plugin marketplace add anthropics/skills
/plugin install example-skills@anthropic-agent-skills
The first adds Anthropic's public skills repository as a marketplace. The second installs its example skills. Use Claude Code for a day and notice when it reaches for one. Claude Skills for Designers walks through six of them, and Claude Code for Designers covers the setup if you have never opened it.
Day 6: Connect Figma
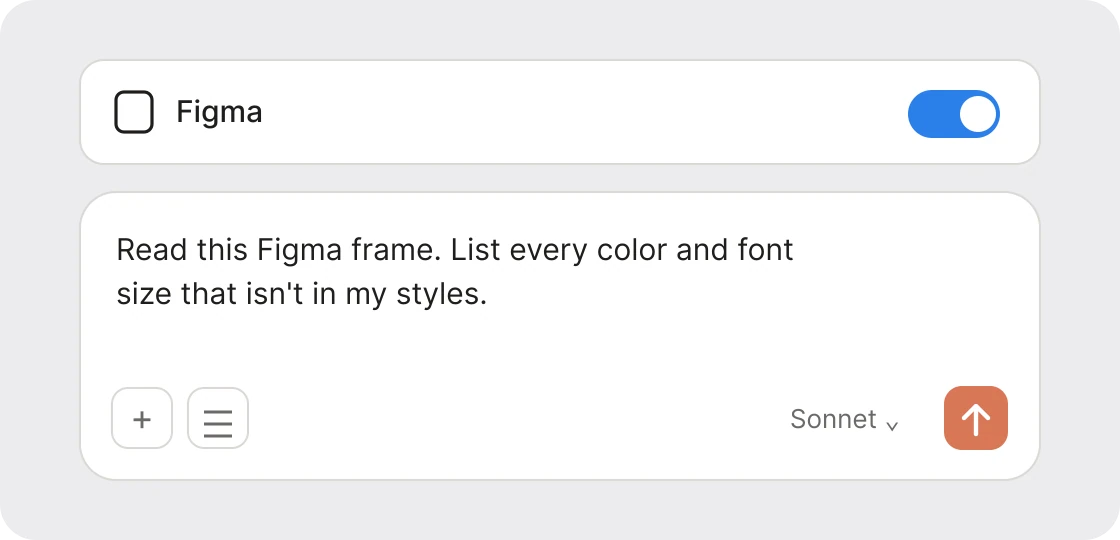
Add the Figma connector first. Figma runs a remote server for this at mcp.figma.com/mcp, and Claude Code asks you to sign in the first time you use it. The exact menu names change, so follow the current Figma and Claude setup pages. Then send this with a link to a frame.
Read this Figma frame. List every color and font size
that isn't in my styles.
This is a design-system audit in one sentence. It finds the stray hex value and the 13 pixel text that nobody remembers adding. Fix what is wrong, and use the same question before every handoff.
Day 7: Write your own skill
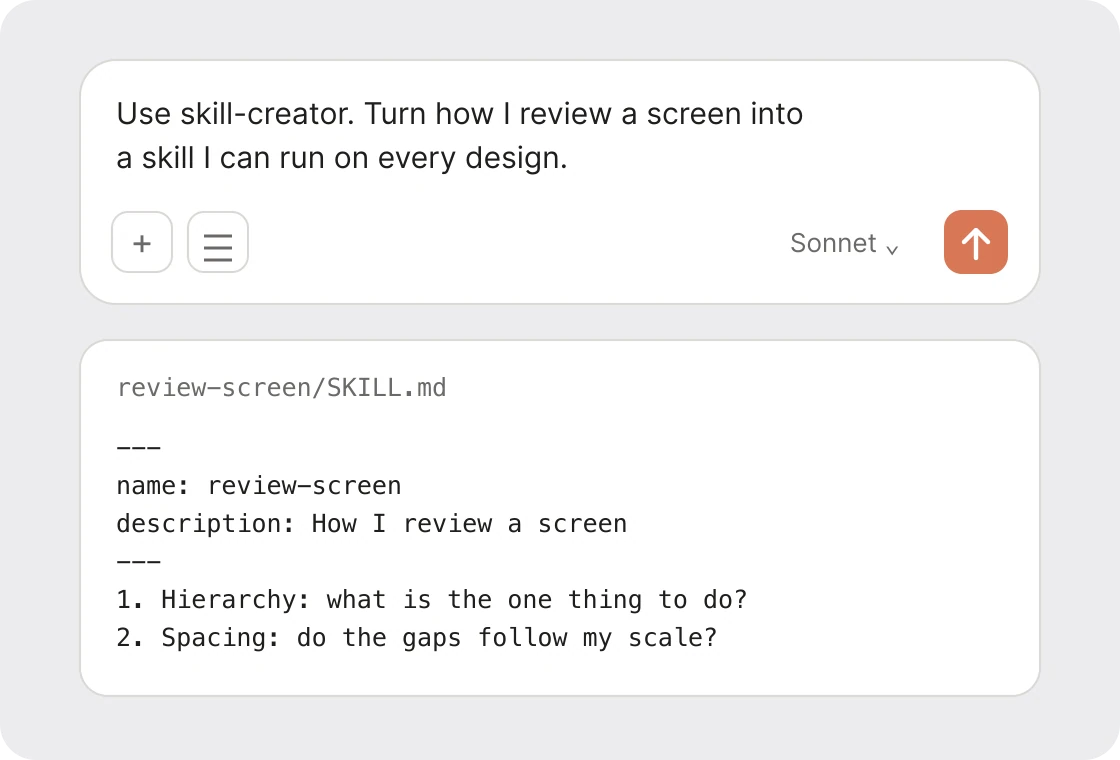
By now you have done the same review three or four times. Turn it into a skill.
Use skill-creator. Turn how I review a screen into a skill
I can run on every design.
Claude asks about your process, then writes a SKILL.md file: a name, a one line description and your steps. The file looks like this at the top.
---
name: review-screen
description: How I review a screen
---
The steps underneath are yours. Hierarchy first, then spacing, then copy, or whatever order you actually review in. That is the point of the week: the thing you do by habit becomes something Claude runs for you.
What to do after day 7
Keep the Project and keep adding rules to it each time you fix the same thing twice. Run Day 2 and Day 6 before every review. When a task repeats, write a skill for it. If your sessions start to drift or forget the rules, Claude Code context management explains why and what to do.
Get the file
Free Figma file
Learn Claude in 7 days (free)
All seven days, with every prompt ready to paste.
FAQ
How long does it take to learn Claude?
This plan is seven days with one small task a day. You will not know everything about Claude after a week, but you will have a Project with your rules, a working prompt for four common design jobs, and your own skill.
What should a designer use Claude for first?
Start with a Project that holds your design rules, then ask for a critique of one screen. Both work with no setup beyond pasting text and a screenshot, and both show you quickly what Claude does well.
What are Claude Projects?
A Project is a workspace where instructions apply to every chat inside it. You write your colors, fonts, spacing and tone once, instead of pasting them into each new chat.
What is a Claude skill?
A skill is a folder with a SKILL.md file that describes a task and the steps for it. Claude loads it when a request matches. You can install skills others wrote, or write your own with the skill-creator skill.
How do I connect Figma to Claude?
Figma provides a remote server at mcp.figma.com/mcp. Add it as a connector in Claude, or as a server in Claude Code, and sign in when asked. Menu names change, so check the current setup pages from Figma and Anthropic.
Do I need Claude Code to follow this plan?
Only for Day 5 and the skill install. Days 1 to 4 work in the Claude app, and Day 6 and Day 7 work in whichever one you have connected Figma to.
Sources
- Anthropic skills repository, read 2026-11-04: the install commands
/plugin marketplace add anthropics/skillsand/plugin install example-skills@anthropic-agent-skills, and the skill-creator skill. - Install plugins, Claude Code docs: the marketplace reply "Successfully added marketplace: anthropic-agent-skills".
- Figma MCP server: answered Claude Code's
/mcpwith "needs authentication" on 2026-11-04. - Claude Projects and project instructions: Anthropic support article 9519177. The button wording in our picture was not checked in a live account.
- The prompts, the seven day order and the example error messages are our own editorial advice, not measured results. The attachment tiles and connector toggle are drawn to look like Claude's interface and were not measured in a live account.
- First published as a carousel on UX Brainy.
Want Claude set up around your design system, not a blank chat? Our team builds the rules, skills and review flows so your whole team gets the same quality from day one.
Get StartedGet new papers by email
New Brainy papers in your inbox. Confirm once, unsubscribe anytime.